6.12.4 Morphing Hierarchical ObjectsIn this example, we will show you how to morph hierarchical objects and objects containing other than freeform objects. When applying morphing to hierarchical objects, the hierarchy is used for detecting what parts of the targets and the key objects correspond each other. This means that the hierarchical structure should be the same (otherwise the result may be unpredictable). As an example, we create a morphed hierarchical candlestick created with the Lathe tool. 1. Use Create/Compound Tools/Lathe to create a nice candlestick. This tool uses cylinders, cones, ellipsoids, spheres and hyperbolics to construct the shape defined and automatically creates a new hierarchy level, placing all primitives under it. 2. Create a MORPHING CLOSED method to the same level with the candlestick. 3. Copy the candlestick and paste it inside the method object as many times as you wish. Modify all key candlestick shapes so they look different. Note: That there are no restrictions for the number of keys or the depth of the key object hierarchy. 4. Because it probably is not desirable to see the key objects, select the method object, select the function Modify/Properties/Attributes and set the gadgets WF-Invisible and RT-Invisible so only the result object will be visible. Of course, it is possible to create an animation where the key objects as well as the result are visible too! |
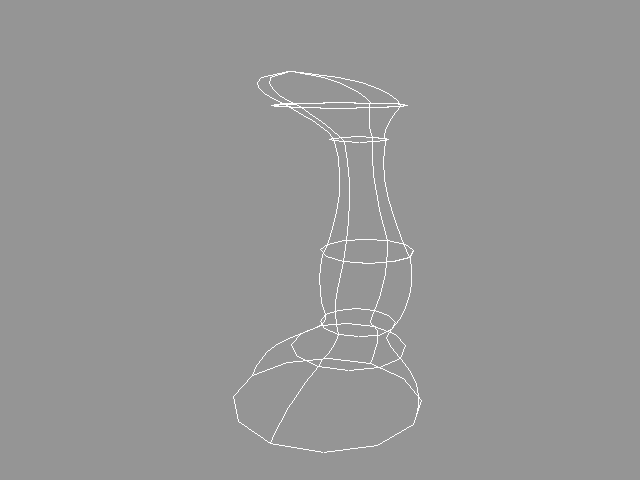 YouTube Figure T6-39: Morphing A Hierarchical Candlestick. |
|
5. Play the animation. |
| ghh don'tpanic |