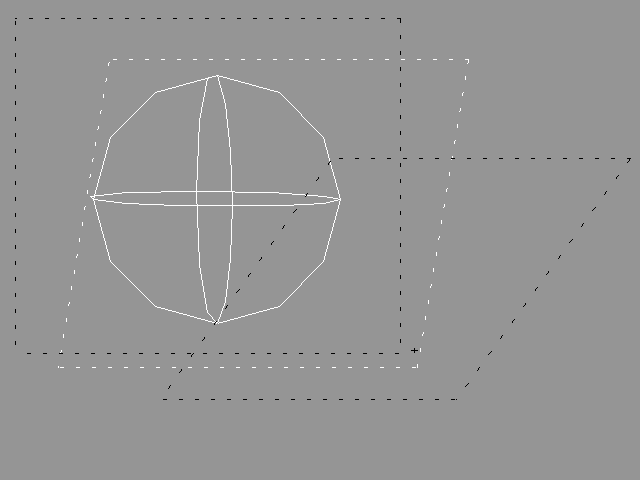
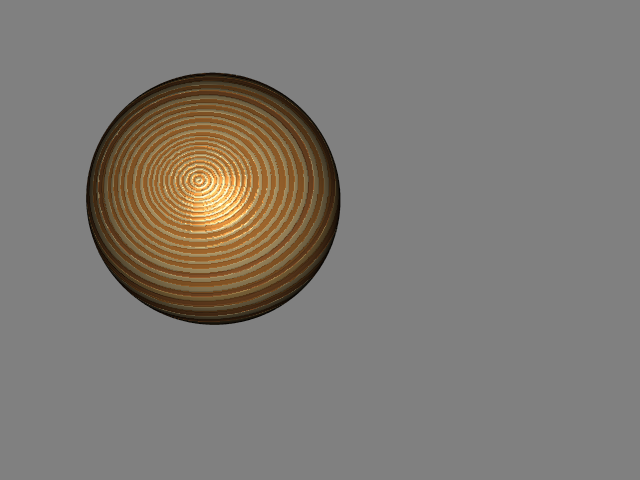
6.12.5 Morphing Texture Maps and MaterialsIf you are already familiar with REAL 3D texture mapping, you know that textures are mapped on objects by using mapping primitives like rectangles and cylinders. Because the mappings are just ordinary primitives in the object hierarchy, they can be animated just like any other objects. You can define all kinds of transformations for mappings using all available methods, and morphing is not an exception. However, there is one difference between morphing and other methods. Morphing does not only change the shapes of mapping primitives, but properties of materials referred by the mappings too! In other words, if a target object for a morphing method is a mapping, also the material associated with the target mapping is morphed, using materials associated with the corresponding key frame mappings as "key materials". Let s practice this a bit by creating an animation where some material properties are morphed. 1. Create three materials named as "result", "color" and "bump", each having for example a wooden texture map. We are going to use the last two as keys for defining the material properties for the "result". Set Bump height to zero for the "color" and to maximum for the "bump" so you can see the difference when result material is interpolated through the key materials. Set the Color and Bump gadgets for the "result". 2. Create a sphere. 3. Create a level at the same level with the sphere and rename it as "mappings". Use the function Modify/Properties/Attributes and set the "Mapping" gadget. The object now consists of one sphere and one level which will be used for defining materials for the sphere. (Remember the philosophy: a moving car consist of a car shape and the motion; a wooden sphere consists of a sphere and wood). By setting the Mapping flag for the level, you instruct REAL 3D to look inside the level to seek possible material references. 4. Make the level object the current level and create one mapping primitive inside it by selecting the function Create/Mapping/Parallel; use the material "result". This means that the texture associated with the result material will be projected over the sphere using parallel mapping. 5. Create a MORPHING method to the same level with the previous mapping. 6. Create two parallel mappings under the MORPHING method. Use the material "color" with the first mapping and "bump" with the second. |
 YouTube Figure T6-40: Morphing Applied to Materials. |
 YouTube Morphing Applied to Materials. |
|
Your material morphing animation is now complete and ready to be played. Before you play it, open a Material window and load the material "result" so you can see how properties will change during the animation . |
| ghh don'tpanic |