6.9.1 A SIMPLE SKELETON and a Logo TextIn this example, we will create a logo text and a skeleton which works as an elastic baseline for the text. 1. Create four 3D characters. 2. Create a SIMPLE SKELETON method to the same level with the characters. 3. Create a B-Spline curve (a skeleton curve) under the method level. The curve should match roughly the baseline of the text. 4. Select the menu Animate/Control/Refresh. Our first skeleton object example is now complete. When you selected the menu Animate/Control/Refresh, REAL 3D calculated all information needed to keep target objects on the skeleton from now on. So, lets try to modify the skeleton curve in order to test how the skeleton works. 5. Select the skeleton curve and move it. Now the skeleton is dislocated from its targets. Select the menu Animate/Control/Refresh and you logo text is pulled to the skeleton. 6. Modify/Linear/Stretch the skeleton curve and Animate/Control/Refresh. The distance between the characters is stretched, too. 7. Bend the skeleton curve, refresh the animation system and your logo is bent, too. |
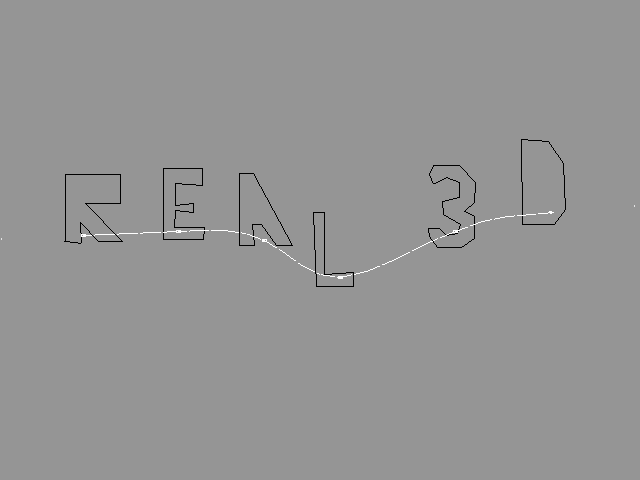 Figure T6-25: An Object after Bending the Skeleton. |
|
As you noticed, the SIMPLE SKELETON method does not rotate or stretch target objects in any way. They are just moved back to their original positions on the skeleton. In other words, the SIMPLE SKELETON uses only "move" transformation to manipulate its targets. This makes this skeleton type suitable for animating objects whose direction should not be changed during the animation. Another observation was that the SIMPLE SKELETON requires one parameter which describes the shape of the skeleton. This parameter can be any evaluable object like a polygonal line, a B-Spline curve, a circle, a point or even a freeform mesh. Furthermore, it is even possible to create customized skeletons by creating a new evaluable object, just like we did in the PATH example 6.1.8 "Customized Paths". The SIMPLE SKELETON method pulls all target objects to the skeleton, so that the COG of the target object in question is pulled to the skeleton, and the position on the skeleton is defined by the VPHS tag associated with the target. For example, if the VPHS value for a target object is 0, then the object is pulled to the beginning point of the skeleton curve. If VPHS is 1.0, then the target is pulled to the end point of the skeleton. The value 0.5 pulls the target to the middle point of the skeleton. These values are called "parameter values" of the parameter object. The skeleton object also redefines the COG for target objects so that it lies exactly on the skeleton curve. When you selected the menu Animate/Control/Refresh the first time, the method automatically defined these tags for each target object by finding the parameter value of the skeleton curve where the distance between curve and target object was shortest. This was done only once. The method created and associated the "ISKE" tag with itself to indicate that all necessary tags are now updated and need not be refreshed any more. This is the whole theory behind the simple skeleton. As you have already noticed, you don't have to know anything about these tags as long as you are not going to define positions for target objects manually. Just create all necessary objects and let REAL 3D do the rest. Lets play with this example a bit more. Select any of the target objects and move it apart from the skeleton. Refresh the animation system and the object is pulled back to the skeleton! Now, suppose that the first target object was positioned improperly and you have to change it to a different position in the skeleton. How to move targets so that the skeleton method will not pull them back to their original positions? The answer is: just delete the tag ISKE associated with the method object (or set its value to zero), move target objects to the desired positions and refresh the animation system. So far, we have actually only tested how the skeletonally controlled objects can be manipulated interactively. Now it is time to create our first skeleton animation. |
| ghh don'tpanic |